Update (2024-03-08): Bump the checkout and setup-node action versions, and set target node version to 18.x.
This guide walks you through the necessary steps to upload your package to the npm registry with some recommendations along the way.
Table of Contents
Setup npm account
Register for an npm account
Test your account by logging in using
npm# you should be prompted for your username, password, and email address # and an OTP if you've enabled 2FA $ npm login # this should print out your npm username $ npm whoami
Dry-run (Testing your package locally)
Test out your package locally to ensure that everything works before publishing it to the npm registry.
You can do this by invoking npm install and providing the path to your package e.g.:
$ npm install /path/to/your/package
Another thing to do is to review the contents of the published package to make sure that it doesn’t
include any sensitive or unnecessary information. You can perform a dry-run with:
$ npm publish --dry-run

# output should look something like
npm notice
npm notice <package_name@version>
npm notice === Tarball Contents ===
npm notice <tarball_contents_here>
npm notice === Tarball Details ===
npm notice <tarball_details_here>
npm notice
+ <package_name@version>
Additionally you can create a .npmignore file to exclude files that you don’t want to publish to the
registry.
Publishing to the npm registry
In your package’s root directory, execute:
$ npm publish
If publishing a scoped public package, execute:
$ npm publish --access public
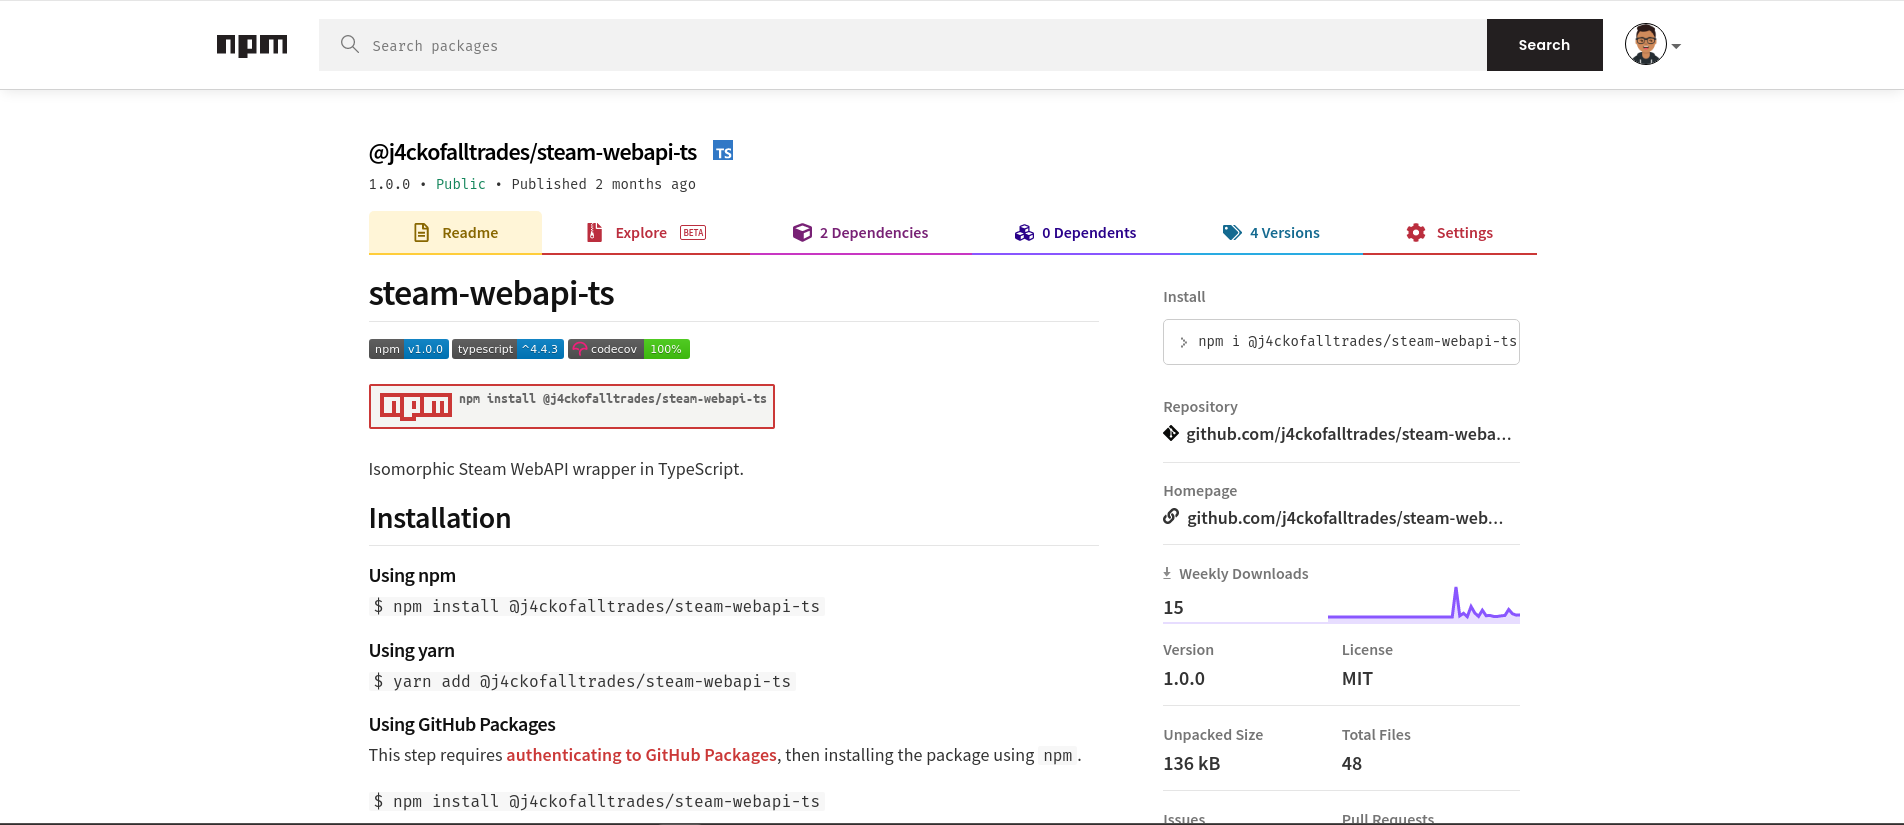
When the publish process finishes, you should be able to see your public package page at https://npmjs.com/package/your-package-name.
Congrats, you’ve successfully published your package to the npm registry. 🎉
Bonus: Automation with GitHub Actions
You’ll probably want to automate this process as part of your CI/CD pipeline. Here’s how to set it up using GitHub Actions.
Create a new npm access token
Add the access token as a secret to your target GitHub repository. You can find this under
Settings > Secretsfor your repo. Give the secret a name e.g.NPM_TOKEN.Create a GitHub action workflow file in your repo at
.github/workflows/npm-publish.ymlwith the following contents:
name: Publish package to npm

on:
  release:
    types: [created]

jobs:
  build:
    runs-on: ubuntu-latest
    permissions:
    contents: read
    packages: write
    steps:
    - uses: actions/checkout@v4
    - uses: actions/setup-node@v4
        with:
        node-version: '18.x'
        registry-url: 'https://registry.npmjs.org'
    - run: npm install
    - run: npm test
    - run: npm run build
    # Publish to npm (append `--access public` for scoped packages)
    - run: npm publish
        env:
        NODE_AUTH_TOKEN: ${{ secrets.NPM_TOKEN }}
This workflow is triggered when a new release is created but you can also configure it to be triggered when a different event happens e.g. when a new tag gets pushed.
Refer to the GitHub Actions documentation for more configuration options.
That’s it, time to get publishing.