Update (2024-03-08): Remove embedded gist and linked to GitHub instead.
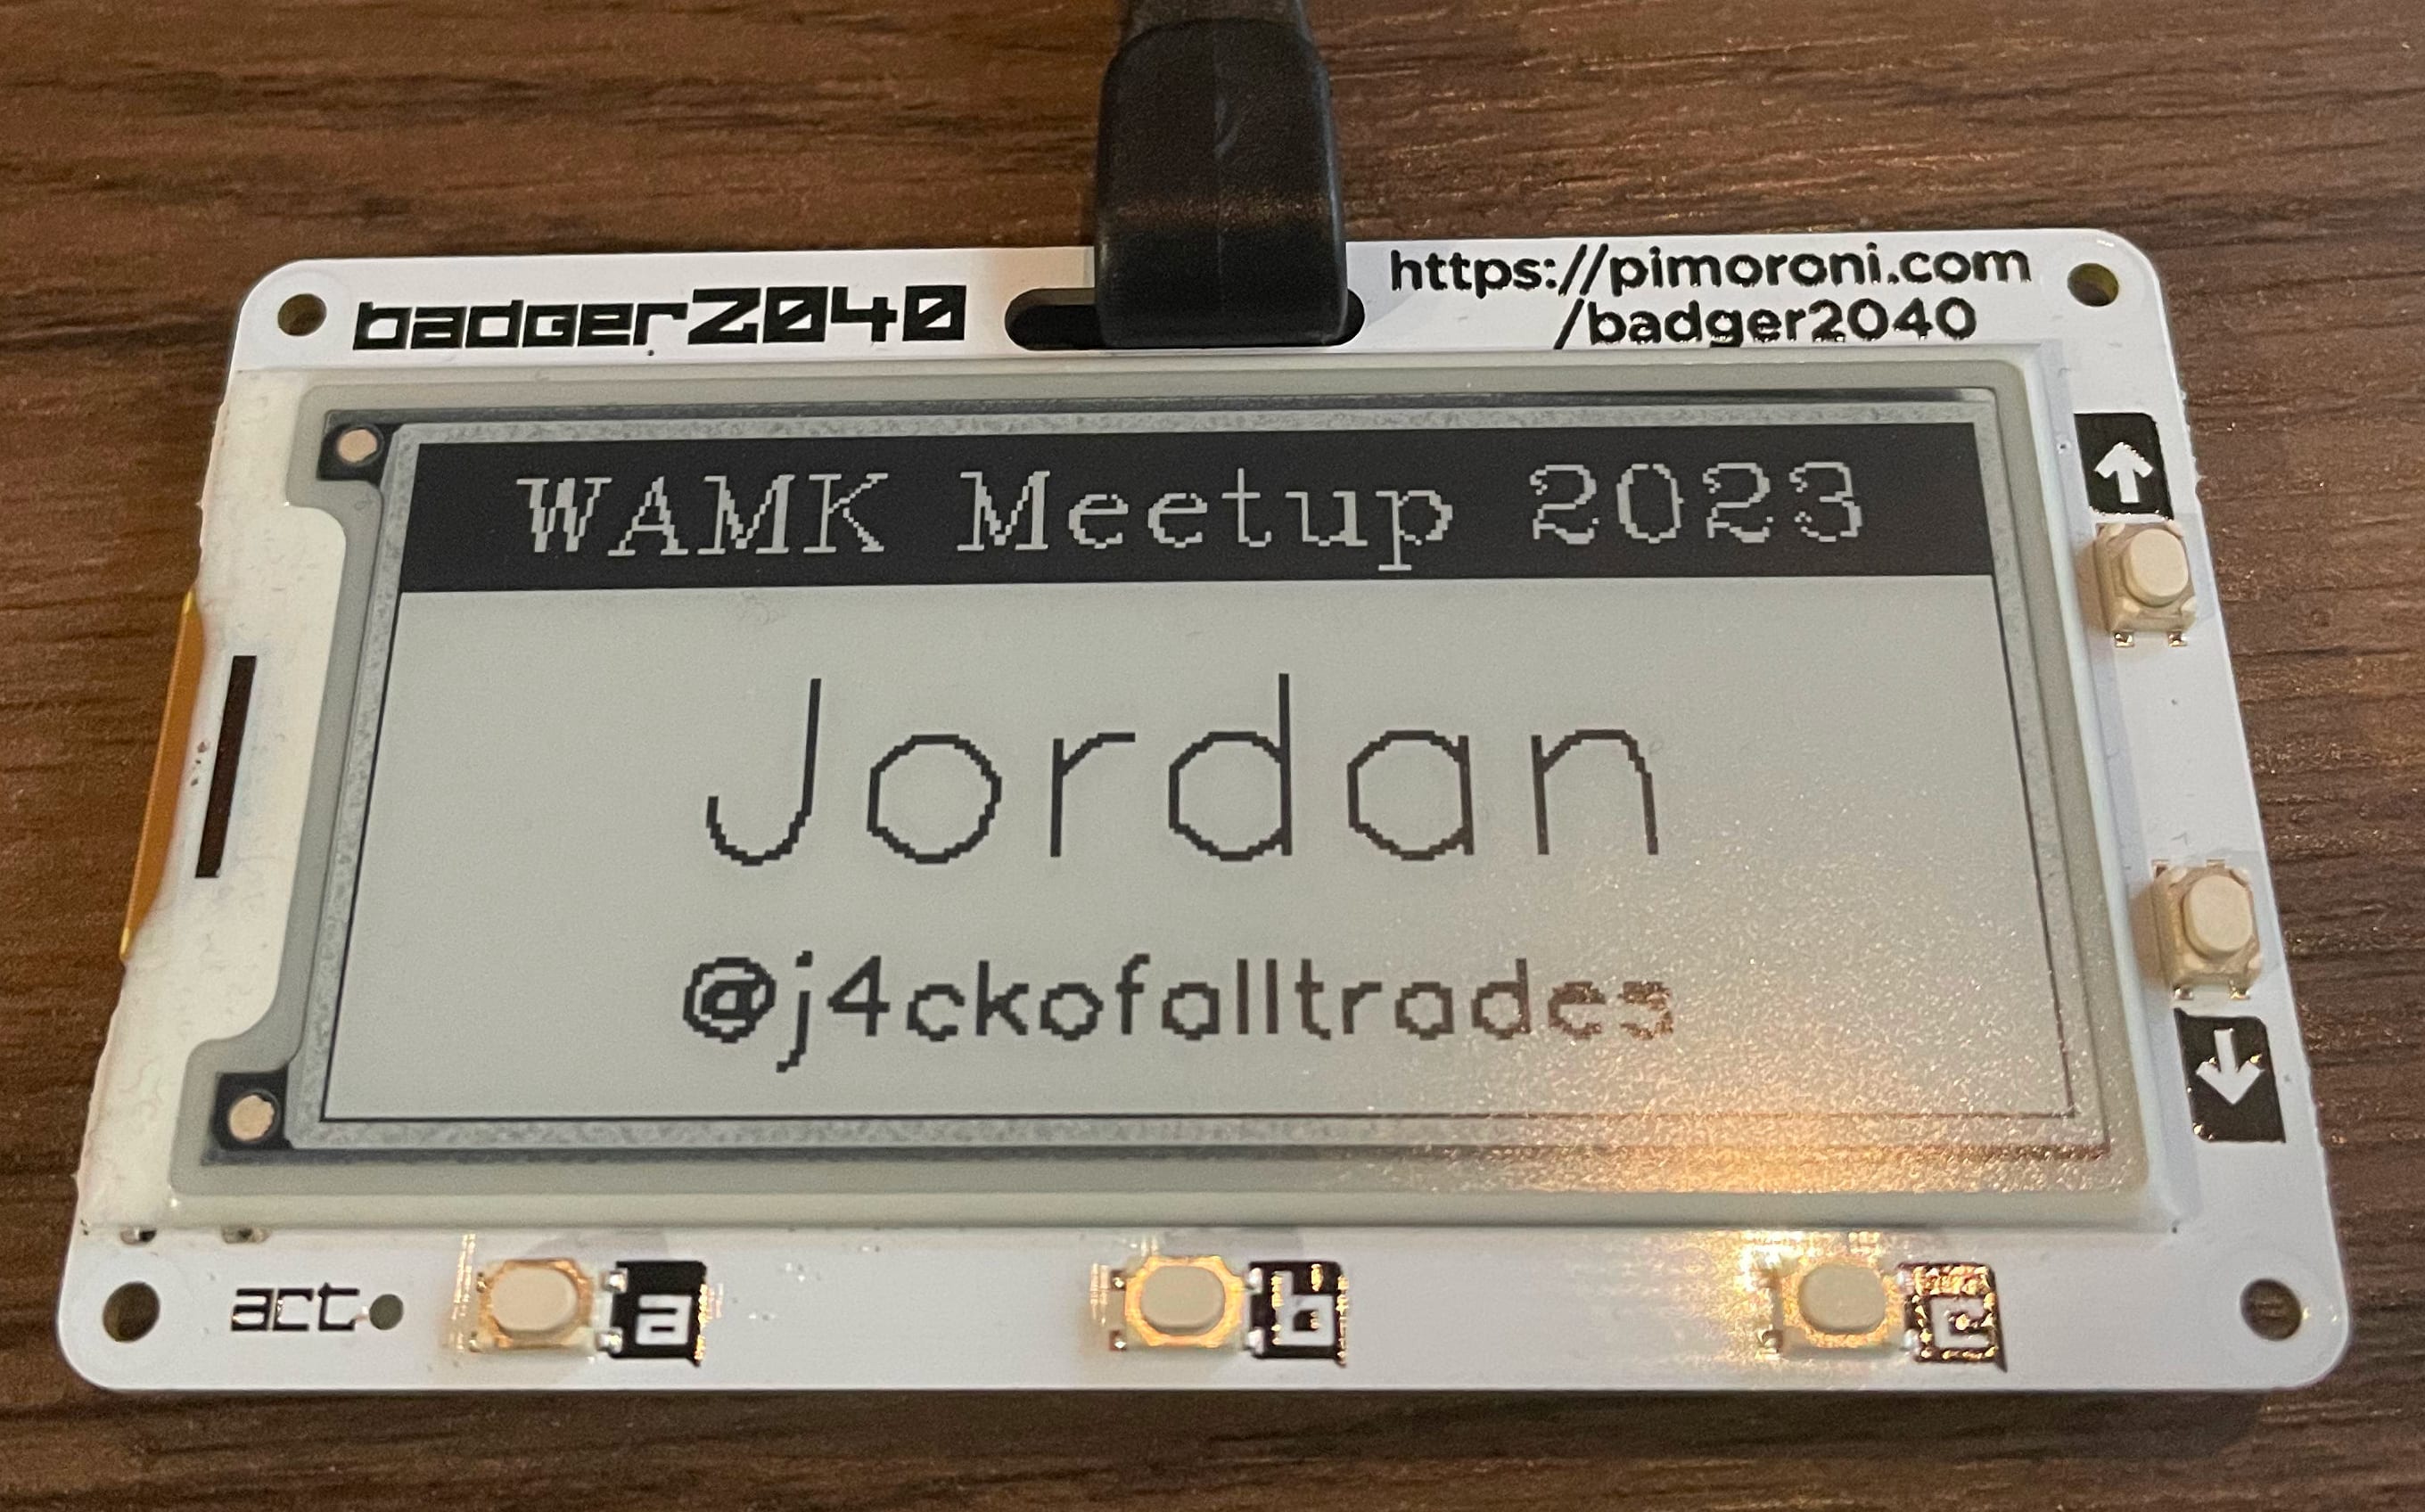
The Badger2040 is a programmable E Paper/eInk/EPD badge, powered by the RP2040.
Some of its features:
- 2.9" black and white E Ink® display (296 x 128 pixels)
- Powered by RP2040 (Dual Arm Cortex M0+ running at up to 133Mhz with 264kB of SRAM)
- 2MB of QSPI flash supporting XiP
- Five front user buttons
- Reset and boot buttons (the boot button can also be used as a user button)
- USB-C connector for power and programming
- JST-PH connector for attaching a battery (input range 2.7V - 6V)
I got one to play around with and to use as a digital lanyard / badge when attending meetups.
Programming
The Badger2040 ships with a custom MicroPython build and a graphics library PicoGraphics that contains useful utilities for drawing on the screen. There are also a couple of examples loaded on the device by default.
In order to write code or update / run the existing code samples, you’ll need to connect it to your computer and open up an IDE with MicroPython support i.e. Thonny.
One thing to note is you opt to use a different IDE is to make sure to name the file as main.py as it will be
automatically run once uploaded to the device (this is the default behavior of the RP2040), otherwise your code will not
be executed.
I ended up using PyCharm with the MicroPython
plugin, one extra step I needed to do was to point the plugin to the device which was located at /dev/ttyACM0
(if you’re on a Unix environment).
Drawing
With the following built-in functions, we can draw text and shapes on the screen.
Constants
The screen dimensions are provided as constants.
import badger2040

WIDTH = badger2040.WIDTH    # 296
HEIGHT = badger2040.HEIGHT  # 128
Pen
There are 16 pen colours - or “shades of grey” - to choose, from 0 (black) to 15 (white).
import badger2040

display = badger2040.Badger2040()

display.set_pen(
  colour  # int: color from 0 to 15
)
The thickness of the lines drawn on the screen can be also be configured.
import badger2040

display = badger2040.Badger2040()

display.set_thickness(
  value  # int: thickness in pixels
)
Text
The font can be changed with the set_font method and write using the text function.
import badger2040

display = badger2040.Badger2040()

# Available fonts
#
# Bitmap
# - bitmap6
# - bitmap8
# - bitmap14_outline
#
# Vector
# - sans
# - gothic
# - cursive
# - serif_italic
# - serif
display.set_font(font)

display.text(
  text,       # the text string to draw
  x,          # the destination X coordinate
  y,          # the destination Y coordinate
  wordwrap,   # number of pixels width before trying to break text into multiple lines
  scale,      # size
  angle,      # rotation angle (Vector only!)
  spacing     # letter spacing
)
Shapes
There are quite a few functions available here, I just included the ones I used. You can check out the full list in the Pico Graphics function reference.
Line
import badger2040

display = badger2040.Badger2040()

display.line(x1, y1, x2, y2)
Rectangle
import badger2040

display = badger2040.Badger2040()

display.rectangle(x, y, width, height)
Putting it all together
# Using the Badger2040 as a digital badge / lanyard

import badger2040

WIDTH = badger2040.WIDTH    # 296
HEIGHT = badger2040.HEIGHT  # 128

BANNER_HEIGHT = 30
BANNER_TEXT_SIZE = 0.8
NAME_PADDING_LEFT = 60

# badge contents
BANNER = "Random Event"
NAME = "First Name"
HANDLE = "@handle"

display = badger2040.Badger2040()

# draw banner
display.set_pen(15)
display.set_font("serif")
display.text(BANNER, 20, (BANNER_HEIGHT // 2) + 1, WIDTH, BANNER_TEXT_SIZE)
display.rectangle(1, BANNER_HEIGHT + 1, WIDTH + 1, HEIGHT - BANNER_HEIGHT)

# draw name
display.set_pen(0)
display.set_thickness(2)
display.set_font("sans")
display.text(NAME, NAME_PADDING_LEFT, HEIGHT - 60, WIDTH, 1.7)
display.text(HANDLE, NAME_PADDING_LEFT, HEIGHT - 20, WIDTH, 0.7)

# draw border enclosing banner and name
display.set_thickness(5)
display.line(WIDTH, 0, WIDTH - 1, HEIGHT)
display.line(0, HEIGHT, WIDTH - 1, HEIGHT - 1)

display.update()
The code is also available on GitHub as a gist.